Chapter 2-7: Cyborg Factory: Sniper Assignment


Navigation:
Chapter 1: Carrington Institute Training
Chapter 2: The Jungles of South America
-2-1: Infiltrating Jungle Base I
-2-2: River Crossing
-2-3: Infiltrating Jungle Base II
-2-4: Jungle Chase
-2-5: Infiltrating Jungle Base III
-2-6: dataDyne Hind Attack
-2-7: Cyborg Factory: Sniper Assignment
Chapter 3: dataDyne Cybernetic Manufacturing
Chapter 4: dataDyne Operations Base/Crash Site
Chapter 5: Captive aboard the Pelagic I
Chapter 6: Carrington Institute HQ
Chapter 7: Perfect Dark GBC Secrets and Extras
CYBORG FACTORY: SNIPER ASSIGNMENT
![]()
![]()
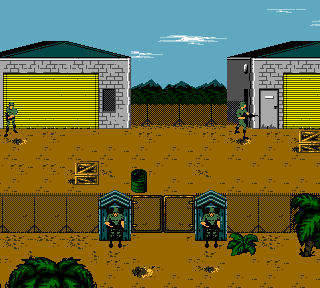
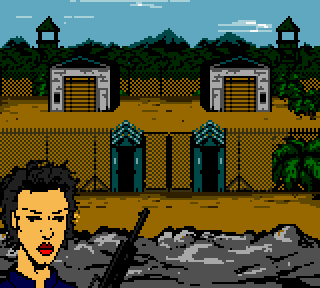
Joanna steadies herself on a bluff and peers across the valley towards the Cyborg Factory. The installation is heavily guarded, with watchtowers and scouts on high alert; the agent has no chance of reaching it on foot without being detected. Fortunately, Joanna has come prepared – she carefully unpacks the disassembled Sniper Rifle from her Carrington Institute kitbag and begins screwing the pieces into place. Keeping a wary eye over the bluff all the while, Joanna locks the final bar into place and then aligns the sight, magnifying her view.
She’ll need to be exercise utmost caution – one false move and the entire base will be drawn to her position…
SNIPER ASSIGNMENT: MAP OVERVIEW
MISSION OBJECTIVES:
• LOCATE AND DESTROY CYBORG FACTORY
• DEFEAT MINK HUNTER
The Sniper Assignment is unlike any mission you’ve undertaken so far – you’ll need to covertly assassinate 12 guards from a distance without compromising your position. If the guards notice your activities they’ll become alert – as indicated by a “!” over their heads. If you’re unable to neutralize any ‘alert’ guards, they’ll open fire and you’ll swiftly fail the mission. The only option is to prioritize accuracy and plan out each assassination to keep everything nice and quiet.
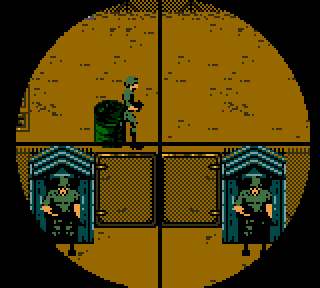
You can use the directional pad to scan horizontally and vertically around the base. Given the distance between Joanna and her targets, you may notice that the Sniper Rifle will raise and lower slightly when kept at rest. It will also drag with momentum before coming to a complete stop, so you may need to adjust with as little movement as possible to focus on an intended target.
When you’ve aligned the crosshairs of the Sniper Rifle with a guard – ideally with a headshot, you can press A to fire a single bullet and take them out. After each shot, you’ll need to press B to reload the rifle to line up your next shot.
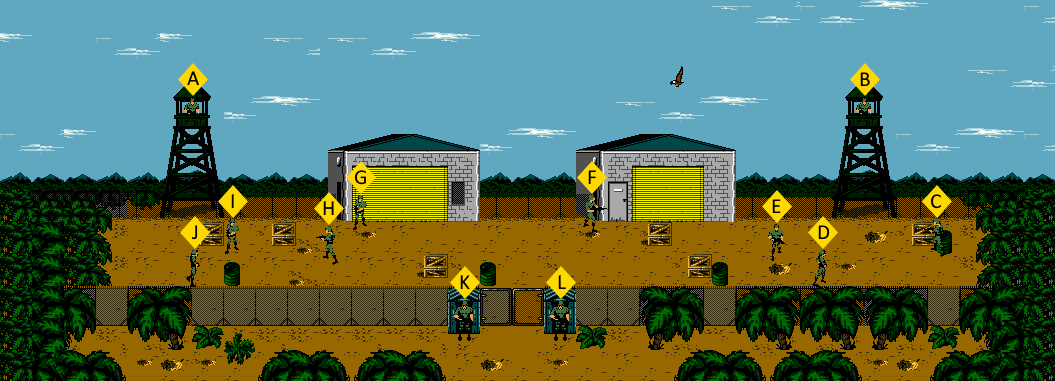
In order to assist you with this mission, we’ve provided an overview of the factory grounds above, assigning each guard with a letter in the order they should optimally be assassinated in. You’ll find the behaviors of each guard listed below, along with tips on how to avoid botching the mission. Sniper Mode is relatively short, it just requires a lot of focus and planning to complete.
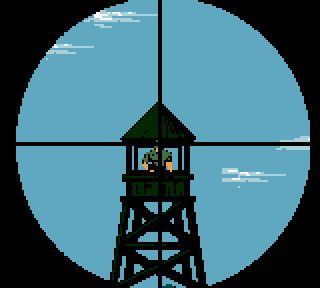
From your starting position at the front gate of the factory, pan diagonally northwest and you’ll discover a watchtower that houses Guard A – he’s completely stationary, so it’s just a case of lining up your crosshair for a headshot and you’ll take him out without issue.
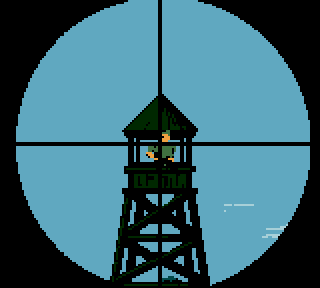
From the first watchtower, pan to the right and after passing by some clouds, you’ll find another watchtower that houses Guard B. Since this guard is stationary as well, it’s just a matter of lining up a fatal shot to the head and you’ll have taken out both watchtowers.
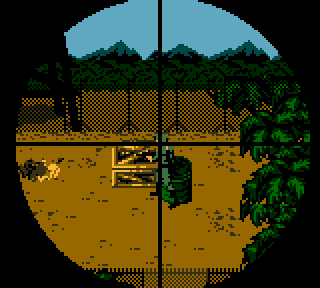
Pan your sights down towards the ground, and then right when you’ve done so to locate Guard C standing in next to a crate and a barrel. You’ll need to be extremely cautious here, as missing the Guard and shooting the barrel will cause it to explode, and you’ll immediately alert all remaining guards to your position. Take careful aim, and take out Guard C with your third headshot.
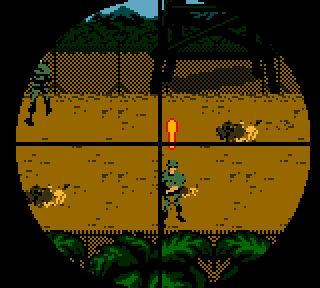
Up to this point, we’ve only had to worry about stationary guards – now that we’re ready to take out Guard D, we’ll need to familiarize ourselves with his patrol. Guard D and Guard J pace counter-clockwise around the base in a rectangular formation. In fact, both guards share a path – so when Guard D is heading to the right on the lower path of the rectangle, Guard J is heading to the left on the upper path of the rectangle.
Due to this variable, you may need to wait until Guard D/Guard J have looped around the base and have begun to walk towards the body of Guard C.
When guards are within a certain proximity of one of their fallen comrades, they’ll become alert (as evidenced by the “!” that appears over their heads) and immediately face your position. There is a window of time during this period where you can shoot the guard before he shoots you.
You may encounter this as Guard D walks over to Guard C, so make sure that you’re focused on his position, and then take him out before he can return fire.
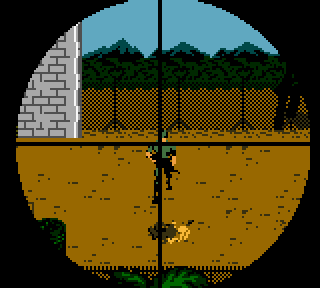
If you pan to the left, you’ll find Guard E pacing vertically between the fences. If there isn’t enough distance between Guard D and Guard E, there is a chance that he’ll react to the sound of gunfire and become alert. In either case, you’ll need to line up your crosshairs and neutralize him before he can alert anyone further.
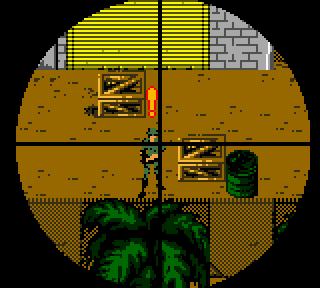
If you pan your sight to the left as soon as you’ve taken out Guard E, you’ll likely come across Guard J heading to the right to continue his rectangular circuit. You’ll either catch him as he’s approaching the crate and oil drum unaware, or you’ll come across him just as he notices the other deceased guards and turns his attention to you.
In either case, line up your sight for a headshot and take him out as quickly as you can.
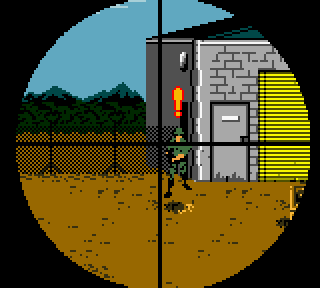
While there might have been a chance that Guard J wasn’t alerted to the bodies of the other guards, the distance between Guard F and Guard J is too close to ignore. When you pan to the northwest towards Guard F‘s stationary position, you’ll likely have him already alert. Do what you can to take him as quickly as possible – once you’ve done so you won’t have to worry about any other guards wandering to this area and making undesired discoveries.
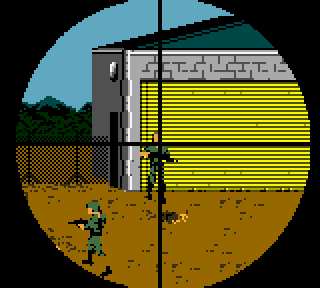
If you pan to the left from the body of Guard F you’ll locate Guard G standing at attention in front of the other garage. Just in front of his position, you should be able to spot Guard H patrolling horizontally between two crates. Wait until Guard H has finished his patrol to the left and has his back turned, and use time to take your shot on Guard G.
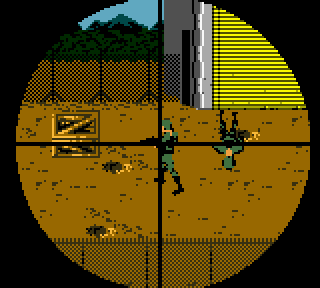
If you can shoot Guard G before Guard H turns around, you’ll be able to avoid alerting him. However, the second Guard H turns around, he’ll recognize the immediate danger of the situation, so pan down to the southwest and neutralize him before he can return fire.
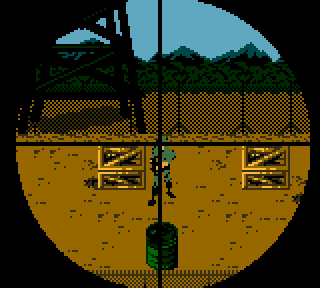
Provided you were able to take out Guard H before he was able to begin shooting, you can pan over to the left and find that Guard I hasn’t been made aware of your presence. From here, you can take your time and really line up the shot and take him out without any urgency.
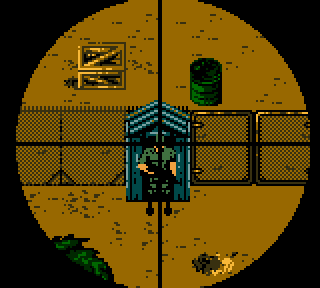
There are only two guards left now, and they can both be found guarding the front gate. From your current position, pan to the southeast and you’ll return where you started from. Locate the first gatehouse on the left and you’ll be able to take your time and line up a headshot on Guard K in front of it.
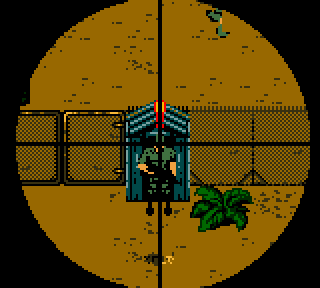
Once you’ve taken out Guard K, you’ll need to locate the next gatehouse to the right where the final Guard L is positioned. Line up your sight and take out Guard L, as soon as he’s neutralized you’ll complete your mission!